April 5, 2014
Table Top Inspirations
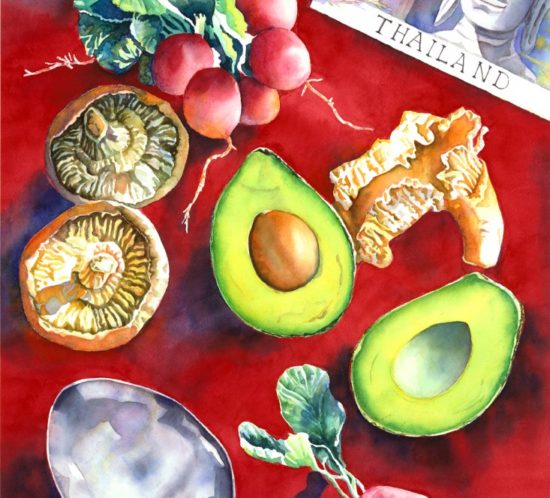
I love the table top still life. It's what I am envisioning when I create cardboard pieces, and when I paint. The table top, whether real or imaginary, functions not only as a frame for the objects but as a point in time. We glimpse